Recently, Google released a new app to make the Google Photo experience even better. The app is PhotoScan by Google and it allows you to move your print images to the digital world! Using the app, you simply snap a picture of your picture, rotate your phone following the onscreen prompts and your photos are automatically cropped, rotated, and color corrected. Photos can be saved to your camera roll or sync to your Google Photo account (and if you aren't using Google Photos, then you may be missing out a photo storage solution that changes the way you interact with your photo memories). PhotoScan is both an Android and iOS app. You can read more about this app here.
If you would like a quick tutorial video, I've created a quick screencast to show you how to use this scanning tool .
letsrecap.com is a free video response application available on the web or as an app for students in the iTunes store. Recap allows a teacher to create a class and then post a question to either the entire class, a small group of students or an individual student. Students respond to the prompt with a video reflection. The teacher then receives a collection of all student responses.
Recap can be used as a formative assessment. A recap could be assigned to students at the end of the day as an exit ticket and then the recap video could be played the next day to reconnect students to the learning. Did your students learn a new concept in science and you would like for them to explain their learning? Assign a recap! Are your students learning a language? They could respond to a prompt to practice their fluency! Are your students reading various books and you would like to have a quick summary of certain elements in their book? Assign a recap! This is a great tool to begin to build a reflective practice with your students. If you would like to explore other ideas, read this blog post by Dr. Bryan Drost Recap Activities
When you sign up, select "Teacher"
You will then "Add A Class"
Name your class and determine how students should sign in.
Accounts can be created using a Google sign in. Although Let's Recap suggests this option for students, we currently suggest students using a code. Currently, if a student joins with their Google account, they can only be a part of one class. As a matter of privacy, if you were to share your class review reel, we suggest adding students by initials or first name only.
Once your class is created, click on "Get Class Pin"
A window will appear on the website for students to join and the class pin. Note: If students go to letsrecap.com they will not have the opportunity to enter the pin. Please note the sign in with a pin requires the URL letsrecap.com/classpin
Once your class is created, you can begin to create Recaps by clicking "Add Recap"
Your recap is automatically named by the date, but you can change it to meet your needs.
You can add more than one question. In addition, if you want your students to have a verbal prompt or you believe they may struggle to read your prompt, you can record a video for your question that will appear above your prompt.
After you have created your questions, you can choose to assign to your whole class, a group of students, or an individual student. Teachers then select the maximum time limit for the student responses. The options are 15s, 30s, 1 min, or 2 min. You can also choose to include an "Assess Yourself" poll. This feature allows a teacher to do a quick assessment to see how students feel about their learning.
As students respond, teachers get instant feedback and access to their recap video.
"Play All" allows a teacher to begin playing the reflections and Recap cycles through all students who respond. By clicking the three dots, an individual student's video can easily be emailed to a parent so they can share in the learning. Recap will then create a highlight movie of student responses that can be shared via a link! Here is a sample Recap Review Reel, My Favorite Story Currently, you cannot edit the Review Reel, but the app developers promise that option is coming soon!
Google Drive is a powerful tool for collaboration. If you have been a Google user for long, you most likely have folders shared with you from your campus, your department, committees, and more. If you move items from shared folders, it can remove the document from other individuals who need access. If you make a copy of the document for your own drive, then you no longer have a "live" copy to reflect the changes that others make to the document.
Shift Z comes to the rescue! Navigate to the document that you would like to "move" to another folder. Highlight the document and select "Shift Z". A window will pop up that will allow you to select a new location for a linked version of the same file to reside. This does not remove the file from its original location but places a linked version in a new location. You can have the same file linked in multiple folders. If someone makes a change to the file, your file will change as well since it is not a copy of the original file, but a linked to the original file.
I remember when browsers were simply the place where you entered a web address but today they create digital magic as they streamline the work that we do. The Google Chrome browser is a powerful tool that is underutilized if you are only using it as a tool to reach your final destination on the World Wide Web. To write about all that Chrome can do for you would take a series of books so we will be highlighting different tools throughout the year. For this post, we I will be highlighting a few tricks that can make your life simpler (and that of your students as well!)
Multiple Google Profiles
Many educators and students have personal Google accounts as well as their GCISD Google account. There are times where I need to switch between my accounts without logging out of one account and into the other. I also prefer to have different bookmarks for each account and to keep these two worlds separate. You can create multiple Chrome profiles and easily switch between accounts without having to sign out of either account! Below is a screencast (created by Screencasitfy extension that we blogged about last week) on creating multiple profiles.
Pin a Tab
There are tabs that I navigate to multiple times a day as well as tabs that are important to the project of the day. There have been many times where I have accidentally closed out of an important tab and had to go to the effort to navigate back to the specific tab I needed. In the Chrome browser, you can pin a tab that you want to ensure you do not close accidentally or that you will use frequently throughout your day. When you pin a tab, it moves to the left of all tabs and the “x” to close the tab disappears preventing you from closing it unintentionally.
Below is a screencast to step you through pinning tabs in your Chrome browser.
Stay tuned for future posts on additional Chrome features!
When you create a class in Google Classroom, Google automatically creates a header for your Classroom. Once you have multiple classrooms, it is beneficial to be able to quickly differentiate between your classes by the image. You can change the image to one of Google's themes.
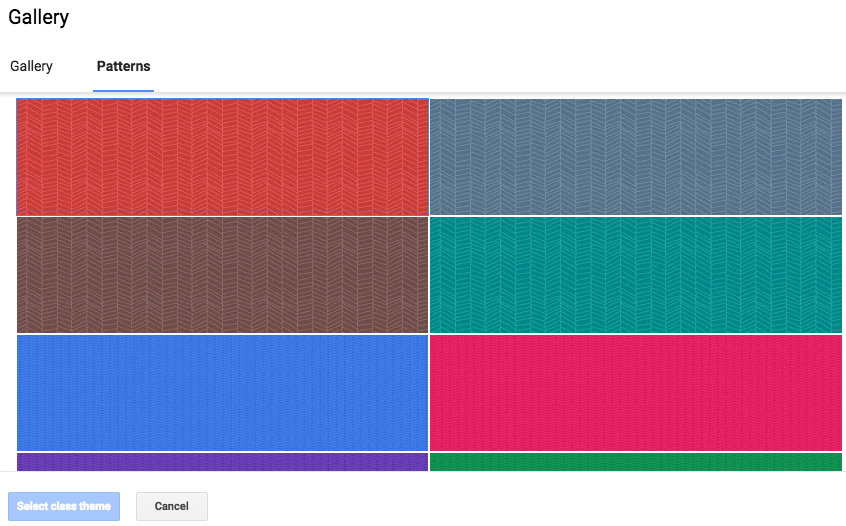
In addition to selecting a theme, you can also choose from colored patterns. If you have a class color, this may be the quickest way to distinguish your classrooms.
Sometimes, though, you may want to be creative and design our own. This is when Canva comes to the rescue! With Canva, you can design your own custom theme image. First, you will want to select "Use Custom Dimensions" and select 800 x 200 px
Once your dimensions have been set, you are ready to create! You can choose a layout and upload multiple pictures to create a class collage Theme Image, choose background colors, select cool font themes, the options seem almost unlimited! Once your creation is complete and downloaded as an image, you are ready to shift to Google Classroom to set your Theme Image. Simply select "Upload photo" and navigate to where it is saved on your computer.
Voilà! You have a new custom Theme Image for your Google Classroom!
If you are interested seeing a how a custom image was created in Canva and posted to a CMS Google classroom from start to finish in just 3 minutes, watch this tutorial video!